
Tutorial: Adding Captions to YouTube Videos
This tutorial reviews different methods to add accurate captions to your YouTube videos, including manually correcting automated captions, using a transcript with the Set Timings feature, manually transcribing captions, and uploading a captioning file. Please refer to the Captioning Quality Guidelines when creating or editing captions.
Note: This tutorial assumes you have a YouTube account. If you don’t have an account yet, you can create a Google account, which will allow you access to many Google products, including YouTube.
Step One
Upload the video to your YouTube account.
Step Two
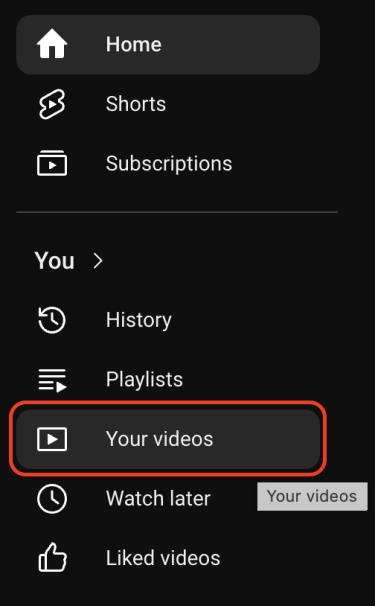
Go to YouTube Studio after your video has been uploaded. To do this, select Your Videos from the YouTube menu options.
Step Three
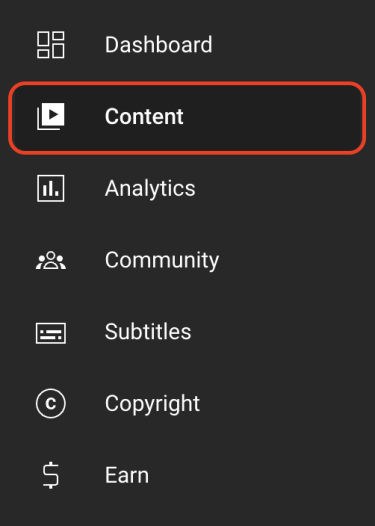
Ensure the Content page is selected in the left side menu.
Step Four
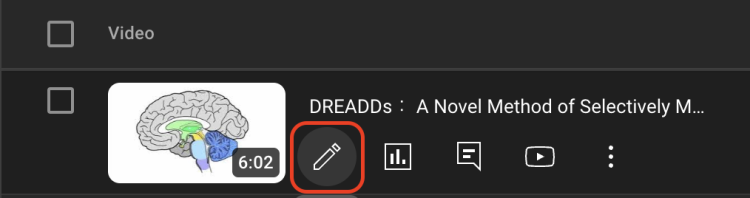
Find the video you want to edit in the video list, then select the Details button (pencil icon) that appears when hovering your cursor over the video.
Step Five
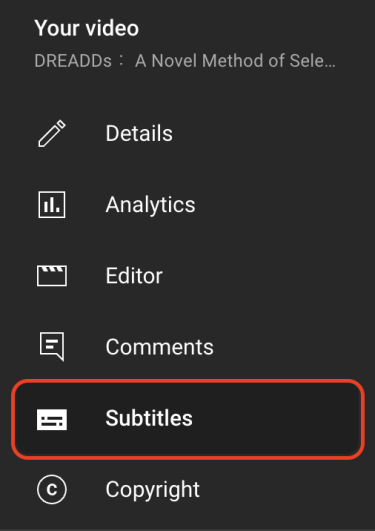
The Details page for the video will open. Select the Subtitles page in the navigation menu on the left side of this page.
Step Six
The Subtitles page will list any caption files available for the video. From here, you can add or edit caption files in a variety of ways.
- If you want to manually correct the automated captions for accuracy, go to step seven.
- If you have a transcript for your video and want to use the Set Timings feature, go to step eight.
- If you want to manually transcribe your video, go to step nine.
- If you want to upload a caption file, go to step ten.
Step Seven: Correct automated captions for accuracy
If automated captions are available for your video, they will be listed on the Subtitles page. Hover over the subtitle column for the English (Automatic captions). Select the Duplicate and Edit button (pencil icon) that appears.

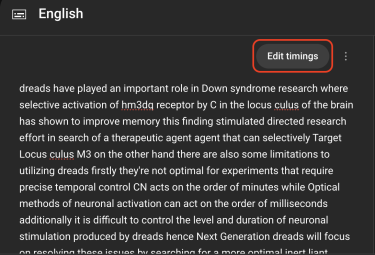
A dialog box will appear where you can edit the transcript. When you're ready, select Edit Timings in the upper right corner above the transcript.

This view allows you to adjust the timing of the caption block and edit the text within each block. You can switch back to the transcript editing view by selecting Edit as Text.
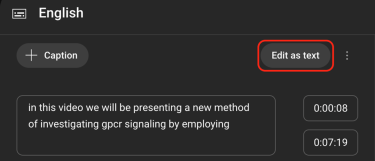
When you're done, select the Publish button in the top right corner.

Step Eight: Set timings for a transcript
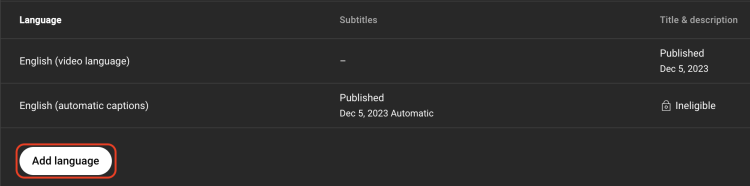
Select the Add Language button below the caption file list and select the desired language.
Hover over the Subtitle column of the new subtitle track. Select the Add button (pencil icon) that appears.

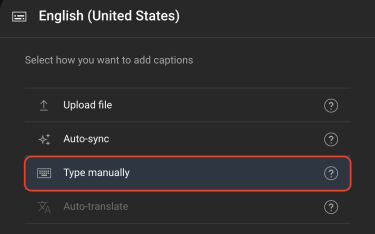
A dialog box will appear; select Type manually.
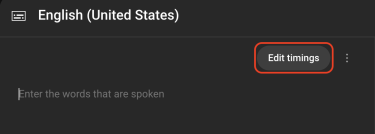
Select Edit as Text.
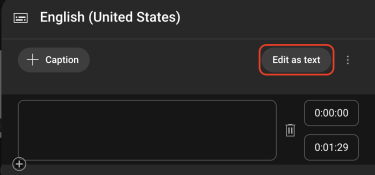
Paste your transcript here, then select Edit Timings when you are done.
Check timings for accuracy and fix any errors. Once your timings have been set, select the Publish button in the top right corner.
Step Nine: Transcribe manually
Select the Add Language button below the caption file list and select the desired language.
Hover over the Subtitle column of the new subtitle track. Select the Add button (pencil icon) that appears.
A dialog box will appear; select Type manually.
Select Edit as Text.
Type your transcript in the caption box, then select Edit Timings when you are done.
Check timings for accuracy and fix any errors. Once your timings have been set, select the Publish button in the top right corner.
Step Ten: Upload a caption file (.srt, .vtt, .dfxp, etc.)
Select the Add Language button below the caption file list and select the desired language.
Hover over the Subtitle column of the new subtitle track. Select the Add button (pencil icon) that appears.
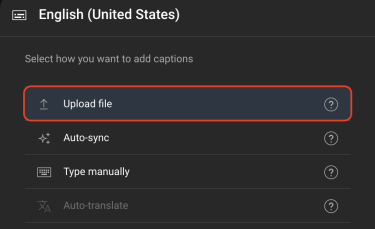
A dialog box will appear; select Upload File.
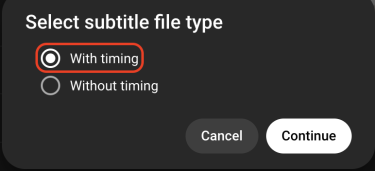
A Select subtitle file type dialog box will appear. Select the radio button labeled With timing.
Select your file and, when it is uploaded, select the Publish button in the top right corner.