
Outlook on the web - Creating and adding your email signature

The following tutorial steps through the process of how to create your email signature and manually insert your signature into a message through Microsoft 365 Outlook on the web.

Layout:
one column
two columns

Step

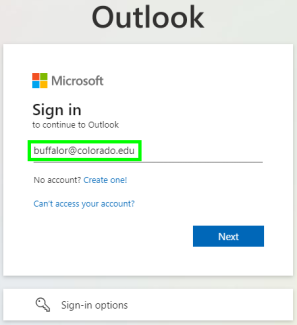
Log into Outlook on the web with your IdentiKeyUsername@colorado.edu   and IdentiKey password.

Step

On the top right of the page, click on the Gear icon to open the settings pane.

Step

Select Mail, then Compose and reply

Step

Edit your current signature in the text box or click New signature to create a new one. You can also edit the signature name, which will appear in the list of signatures. Click Save to save your signature

Step

You can also edit your default signatures on this page. You can set different signatures for new messages and replies or forwards. Select the desired signature from the dropdown. Select "(No signature)" to remove the default signature. 

Step

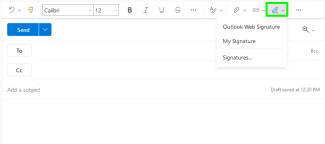
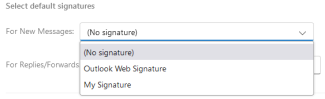
You can also manually place your signature within a single mail item (this is particularly helpful if you utilize multiple signatures). Within a message, click the Signature icon and select the desired signature from the list. The signature will insert in the message below your cursor. 

*Note: you may need to click on the more options menu icon (three dots) to see the signature icon